
Essling Pond
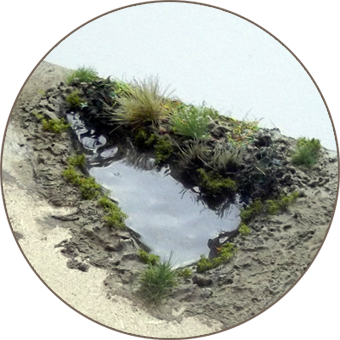
I had a couple of attempts at modelling an Essling pond. I wanted the pond to appear as deep as possible. I had already cut a hole in the village’s base board (see Post 203). I spread some grout around what would be the bottom of the pond, making sure it was good and lumpy with a rocky texture. I then poured some Vallejo polyurethane Still Water with added paint into the hole. This first attempt resulted in a pond with an interesting green-brown colour. However, the amount of added paint made the pond too opaque for my liking. So I used a rotary drill and removed the polyurethane. I began again pouring in polyurethane but this time with less added paint. Again, it was difficult getting the right balance between giving the clear polyurethane a dirty look and still being able to see something of the depth of the pond. To add to that, the polyurethane appeared not to level itself. This was due most probably to the porous grout it was poured onto. Instead, it extended up the sides of the pond – and also up the tuft I had glued to the bottom of the pond! It also made the surface of the pond somewhat lumpy – presumably as the polyurethane reacted to the shape of the grout beneath or to some chemical reaction. The unwanted gloss on the edges of the pond had to be painted over. I then gave the pond an edging of tufts and static grass. I also took the opportunity to fit a piece of Ratio N-scale paving stones sheet in the other hole in the terrain tile, brought to the correct level with cardboard padding.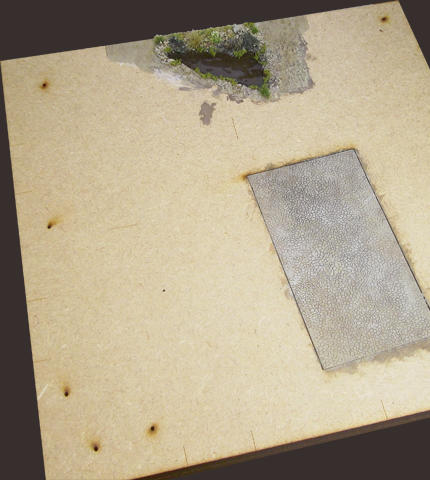


POST 216
216


